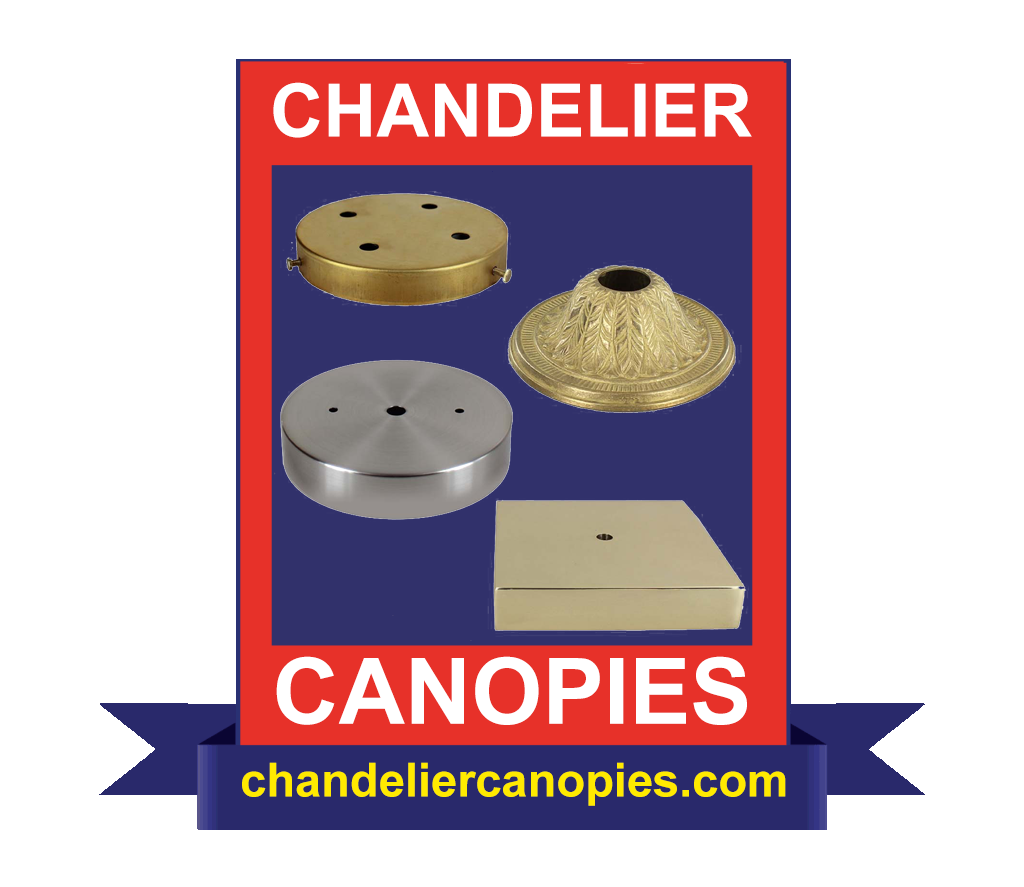
Canopies | Escutcheons | Electrical Box Covers | Back Plates | Bases
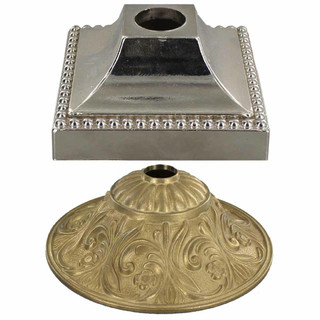
 4-7/8W X 2-9/16H 1/8 HOLE FLOWER DEEP CAST CANOPY NICKEL PLATED


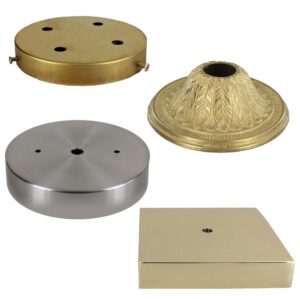
What is a Canopy?
A Canopy is a decorative plate, typically round, made with high quality materials and in a variety durable finishes that attaches to the ceiling to cover the electrical junction box.
Installing a new light fixture is a great way to instantly change a drab room into a dazzling one. While lighting showrooms and catalogs have a wide variety of fixtures to tempt you, Grand Brass Lamp Parts has served the Retail and Wholesale lamp parts, lighting parts, and chandelier parts industry since 1913. We carry a large selection of lamp parts and chandelier parts including canopies and canopy accessories.
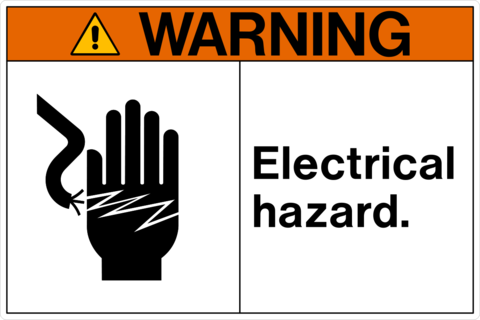
WARNING! Always consult with a licensed electrician as improper or incorrect wiring of an electrical device can result in a potentially lethal shock or fire which can cause bodily harm, and death. If you are unsure about wiring your next project consult with a licensed electrician.
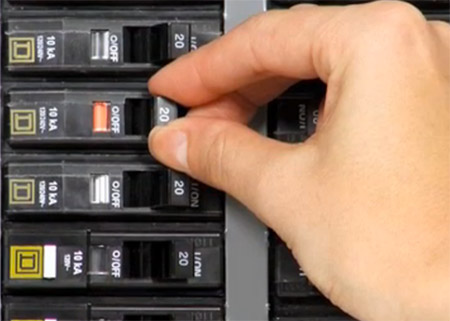
Turn off the power!

Before handling wires on any lighting project in your home, it is always best to turn off the circuit breaker that powers the light.
If you aren’t sure which breaker turns off the light, turn off the main breaker and use natural light or a headlamp to complete the project.
Remove the canopy to expose the
wiring and fixture hardware.
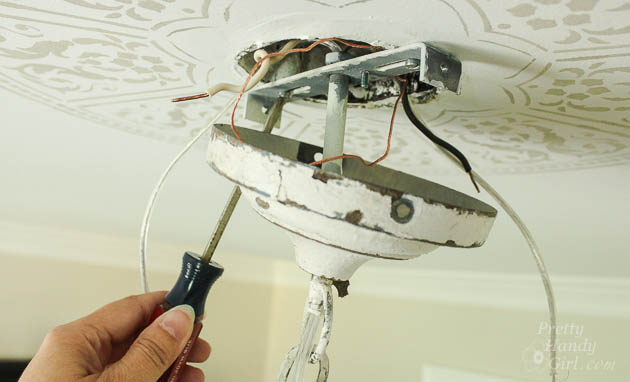
There’s generally some sort of screw holding the canopy in place; simply undo whatever mechanism is there and let the canopy drop
Unscrew the three wires: black, white, and copper.
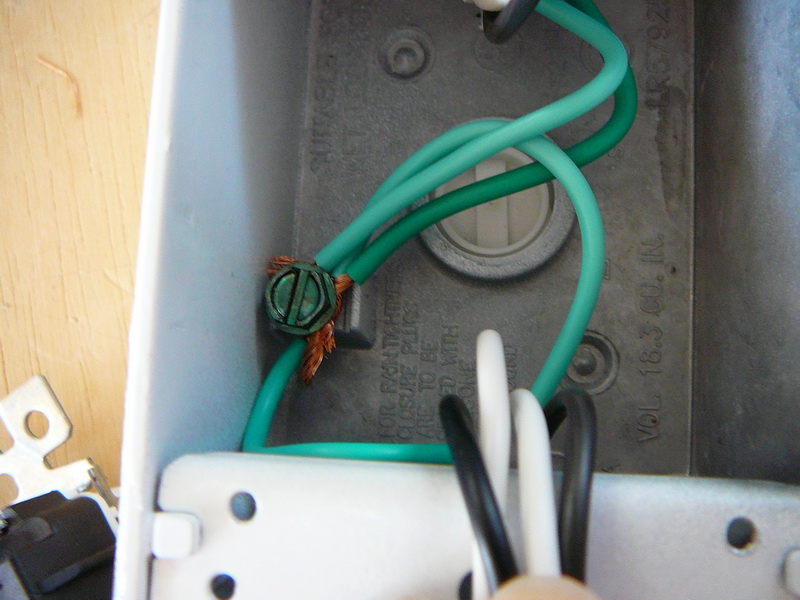
You’re connecting three wires from the fixture to three wires installed in the ceiling, then mounting the fixture hardware. So when you get the canopy off, you should see three three sets of wires — black,
white, and green (or copper) — that need to be disconnected in order to remove the old fixture. Unscrew the wire connectors (the red parts in the image above), and separate the fixture wiring from the ceiling wiring.
Remove the old light fixture.
After you’ve disconnected the wires, the old light fixture is generally free to be removed. There’s no universal way they’re attached to the ceiling or electrical box, but it’s generally just a screw or two.
Connect new fixture wires.
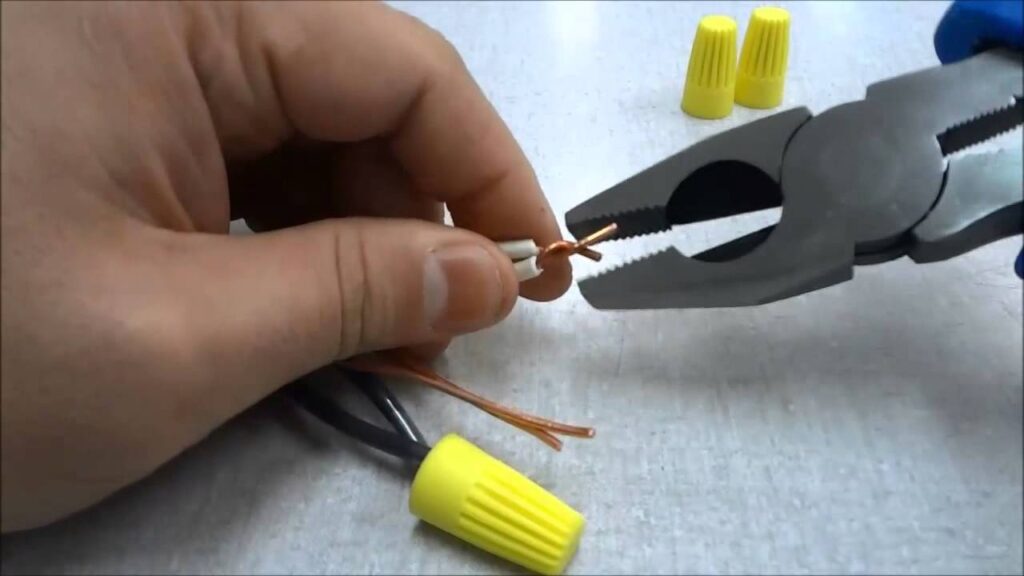
The wires descending from the ceiling will have bare ends, while the new wires will have what looks like frayed, silver ends. Twist the “frayed” threads on the end of the new black wire to the exposed end of the existing black wire, twist on a wire connector, and repeat with the white wire. The copper (or green) wire of the new fixture might be a little different; sometimes it connects to a green grounding screw and other times to a dedicated copper wire coming from the ceiling (electrical box). Refer to your light fixture instructions, and your individual situation: If there’s a copper wire pre-installed in your ceiling, connect the new wire there. If you just have a small green screw on your mounting plate, wrap the new copper wire around that.
Secure the new fixture and adjust
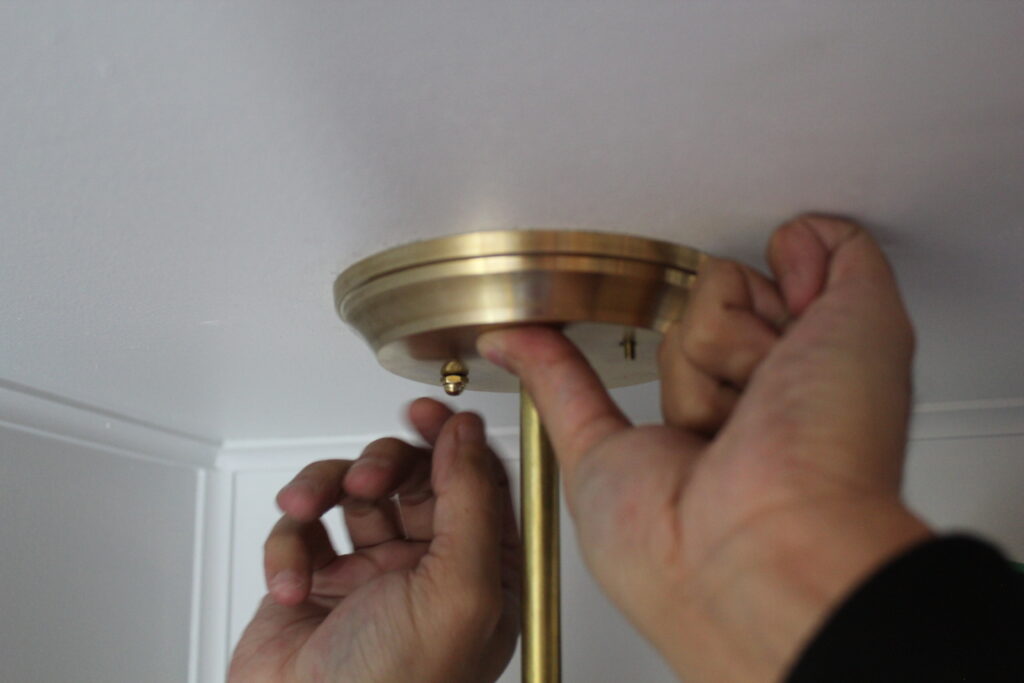
Secure the new fixture, usually with just a couple screws into the mounting plate.
Restore power and test out the new fixture!
That’s it! You’re done! If you restore power and the light doesn’t work, it’s likely because either the white or black wires aren’t fully connected. Turn off the power once again and double check your connections.
The following pdf instructions are just some examples of common installation setups for various styles of Canopies, but each method can be modified to suit your needs.

1/8IPS Hole Canopies
Fixture Canopies with 1/8ips (7/16in) Center Holes used to cover the Electrical Box and add a decorative accent to your Chandelier or Ceiling Fixture.

BAR-HOLE CANOPIES
Fixture Canopies with a 1/8ips (7/16in) Center Hole and Cross Bar Holes for mounting to the Electrical Box.
Bar-Hole Canopy Pipe Pendant Instructions | Bar-Hole Canopy Wire Pendant Instructions | Bar-Hole Canopy Chain Pendant Instructions |
1-1/16IN CENTER HOLE CANOPIES
Fixture Canopies with a 1-1/16in Center Hole commonly used on Chain Fixtures and Pole Pendants.
1-1/16in Canopy Tube Instructions | 1-1/16in Canopy Hang Straight Instructions |
1-1/16in Canopy Screw Collar Loop Instructions | 1-1/16in Canopy Cathedral Hang Straight Instructions |
Multi Hole Canopies
Canopies with multiple holes commonly used when using multiple pendants or chains from one single canopy.
Multi-hole Canopy Pipe Pendant Instructions | Multi-Hole Canopy Wire Pendant Instructions | Multi-Hole Canopy Loop Instructions |
Replacement canopy selection should always begin with a consideration of YOUR custom project. Fortunately, our online catalog lists canopies of all sizes, shapes, finishes and styles.
Though there are a myriad of sizes and designs of canopies, when it comes to choosing a replacement you needn’t be intimidated. Let us assist you in making a good decision on your next replacement canopy.
To help electric lights shine in a comfortable and appealing manner, Grand Brass Lamp Parts offers a wide variety of glass lamp shade styles, hurricane, student, and torchiere.
Grand Brass Lamp Parts, LLC has served the Retail and Wholesale lamp parts, lighting parts, and chandelier parts industry since 1913 and also stocks lamp cord sets, including SPT and SVT sets as well as Twisted Fabric Covered Lamp Wire Power Cords.
Plus, to complement our electrical wire and lamp cord supplies, we also stock canopies and other lighting parts to cover all your lighting parts shopping needs.
You may also want to view our range of Lamp Sockets , Lamp dimmers, and lamp switches to help complete the job.